Saturday, December 29, 2012

Jerusalem,Artichoke.

I have noticed  lately that  a week rarely goes by without a pot of soup. As soon as the temperatures began to drop I found myself planning my cooking endeavours more and more around one crucial question: which soup will I be making. Once that is decided, I can turn my thoughts to what might accompany that soup well.
There have been a couple of these such soups lately which I think are worth re-making, and for that matter,  sharing. One was a Chickpea, Leek and Tomato Soup, thick and rich with chunks of vegetables in a fragrant broth.We will save that on for later though, since the second soup requires Jerusalem Artichoke, which is only available during the fleeting winter months here in Israel, and thus commands our immediate attention and quickness of action.


The Jerusalem Artichoke is a mildly flavored tuber which has no relation to a true artichoke, or globe artichoke, as one is formally known. Instead, the Jerusalem artichoke is related to the sunflower, and I am not certain what it's connection to Jerusalem is exactly. Seeing as I have a tender spot in my heart for this city which I live in and which lent this root its name, one may begin to imagine a certain bias and the sense of curiosity I hold for this awkward looking vegetable. Any recipe I have stumbled upon which called for it seemed to have an air of class and sophistication to it, yet I believe I only attempted cooking with it once before, several years ago.
But this winter,  when these funny looking roots started appearing heaped in small piles on the market stalls, I heard their beckoning once more, and I yielded. Some quick research on the net for inspiration led to a plan:
I shall team them with a host of fine tasting roots, roasted chestnuts and nutmeg in a rich, creamy soup. I brought home a kilo of them, patiently toiled over their peeling, lovingly cut them and the rest of the roots into equally sized cubes, and sauteed the lot in butter with spices. A fresh branch of sage and a bit of white wine summed things up nicely and made for quite a luxury of a soup. This was about a month ago, and the soup was well received by those who shared it with me over a Jerusalem saturday.


Yesterday I made this soup for my family at my father's home, with slight variations. Again, it was deemed a crowd pleaser. Here is the recipe, I hope you lay your hands on some of these little funny gems and try it yourself. I think you'll be happy once you have.

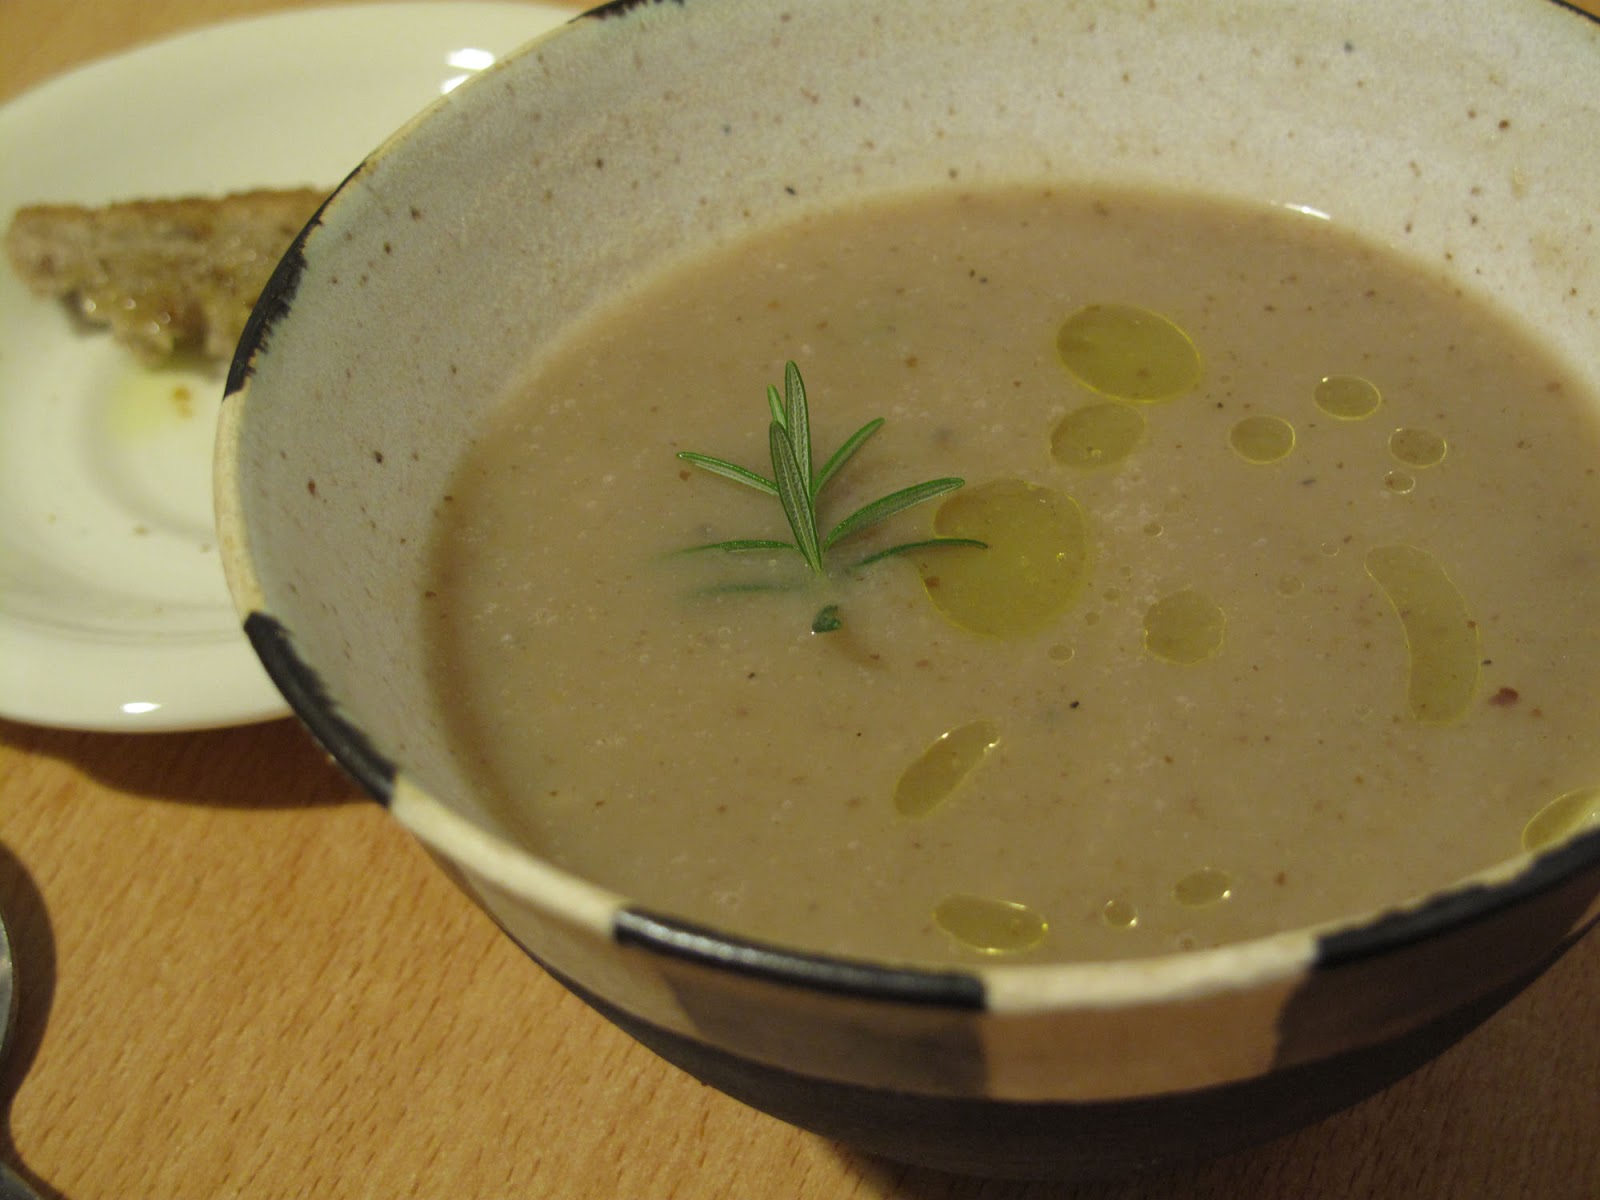
Jerusalem Artichoke Soup with Roasted Chestnuts
***
1 kg Jerusalem Artichokes, peeled, cut into pieces about 2 cm wide
1/2 kg potatoes, peeled
1 large celery root, peeled
1 medium onion, white or red
6-8 cloves of garlic
300 gr roasted and peeled chestnuts
several leaves of fresh sage
ground nutmeg
black pepper
salt
3 tbsp of butter, or olive oil
a generous splash of dry white wine
*


First off, a few words of advice and generals guidelines. Before you set to peeling your Jerusalem artichokes, please supply yourself with ample amounts of patience. Their odd shape and many protrusions make them a less then perfect candidate for peeling, but still those peels must go. I use a veggie peeler and a small Sharp knife to reach spots which are more tricky. To make things easier, try and choose tubers which are relatively uniform and shape. Also, look for ones that still look juicy and firm, not dried out or woody. Once peeled, their flesh resembles that of an uncooked potato, watery and crisp. It's worth it, really! Plus, if you happen to be in the right kind of mood, tending to them can be meditative. If you are feeling edgy and impatient, save this soup for the next day. 
You should also try and cook all the roots into similarly sized pieces, so they will softened about the same time.
I used bagged chestnuts, which made the matter much easier. If you have the time and are so inclined, you could roast and peel your own.

In a large pot, warm butter or olive oil over a medium flame. Add garlic and onion, and saute for several minutes. Add the rest of the vegetables and season with salt, pepper and nutmeg ( I used about 1/2 a tsp, and more at the end, but use as much or little as you like ), stir, cover and saute till the vegetables are soft, stirring occasionally to prevent browning. Add chestnuts and sage, cover with 2 liters of water, bring to a boil, reduce heat and let simmer till vegetables are soft. Add a splash of white wine, check seasoning, and serve. 
The second time I made this I used olive oil instead of butter, and left out the wine since I had none on hand. Both versions were excellent. The soup is rich regardless of whether you use butter or not, although it was somewhat richer with the butter, naturally. I would recommend the wine if you have it, because it compliments the delicate flavours of the soup perfectly. Although, the soup is still very, very good without it as well.


Happy winter, keep warm and cozy, and have a wonderful, beautiful new year!


Monday, December 3, 2012

Make It: my worm bin!!!

I am extremely happy to introduce my new pets: red wrigglers. Yep. Some girls get excited about frilly dresses, some girls like to dig up worms. I like both! lucky me.
For a very very very long time I have been dreaming of starting a worm compost bin- we all have our peculiarities. These little fellows gobble up organic matter and transform it into a nutrient rich substance which plants thrive on. Less garbage, free fertilizer for my house plants and a "do it yourself" sustainable appeal? you've got me. 

Temporary worm bin, with a warning for un-expecting flatmates ,or guests.


That said, this dream was one I kept at the back of the drawer for a particularly long time. Fear of failure was daunting. I had to do it "right": the perfect bin, the perfect location, the perfect worms, perfectly decomposed compost as a final goal- all the right kind of expectations to keep oneself from trying something new. But as luck had it, a week and a half ago I saw a notice for a short Vermicomposting ( that's worm composting in fancy-tongue, mind you) workshop to be held 5 minutes from my home. Before I had a chance to persuade myself to wait any longer, I was signed up. Before I could decide to "wait" till I have a bin set up for my new buddies and then buy the worms, I went out to the market and found a lovely plastic box with a lid which had been used for cheese- free, and plenty more where it came from. And so, a week ago, song in heart and clumsily large container in hand, I made my way jubilantly to the garden of the Vegetarian Society near my home. I listened and learned, and found that I had all that I need to give it a shot. The worms came home with me the very same evening, and were placed in their temporary home to wait for some final adjustments to be made to their permanent abode.

The new worm bin, empty, by the bin that housed the worms over the past weeks. Worms don't like light, or dry hands, so I wet my hands to handle this one and get a quick shot of it. Sorry, wormie. 


Since the the bins I found are a little on the small side, the instructor suggested I try a vertical method of composting. To start, you need two bins. The bottom one has a few large holes in its bottom to drain of liquid- a nutritious fertilizer that can be diluted and fed to potted plants. I have been buying this stuff to feed my house plants, who thrive on it. I look forward with much hope to producing my own! into this box is fitted a second box, into the bottom of which plenty of holes have been drilled, to make for good drainage. The lid should also have plenty of holes to allow circulation of air in the bin. The bin is situated on two bricks, with a slight slant towards the side of the bin where the drainage holes for collecting the liquid are- under which you should place a small container. 

Left to right: The green bin is the inner one, in which worms, bedding and food scraps are placed. The green bin sits in the white one, which has three holes for drainage and collecting liquid fertilizer. lid and bottom of green box have plenty of holes for drainage and aeration. A layer of leaves, above a layer of shredded newspaper, under which worms hide in their bedding with food scraps. It is important to maintain humidity in the bin. The bin on two bricks under the table, slanting slightly forwards towards drainage holes of white box. There is a small container underneath these holes to catch liquid.  I hope to eventually move the bin underneath the sink, for now it will stay here, so I can keep track and see if things are working.

And then the wormies moved in! first I put down a layer of shredded newspaper. The worms I got came with some soil and quite a bit of yet to be fully eaten kitchen waste, so for now I only added a few cabbage leaves- I don't want to over feed them, which could kill them, so I'm waiting for them to get settled in and finish their last meal before giving them more food.
I have a few goals with this experiment. Obviously, I would like to make compost, and reduce the waste I toss into the trash bin, and feed my plants, and keep the worms happy and alive. But since I also want to keep the bin indoors, and stay on good terms with my flat mate, I hope to manage to set up a bin that will run smoothly and not put off any bad odours. I added a layer of shredded newspaper on top of the worms and food scraps so hopefully things will stay moist but not stinky, and dry leaves too. I also have limited space, so that's another challenge. We will just have to learn as we go along- I will keep you posted!